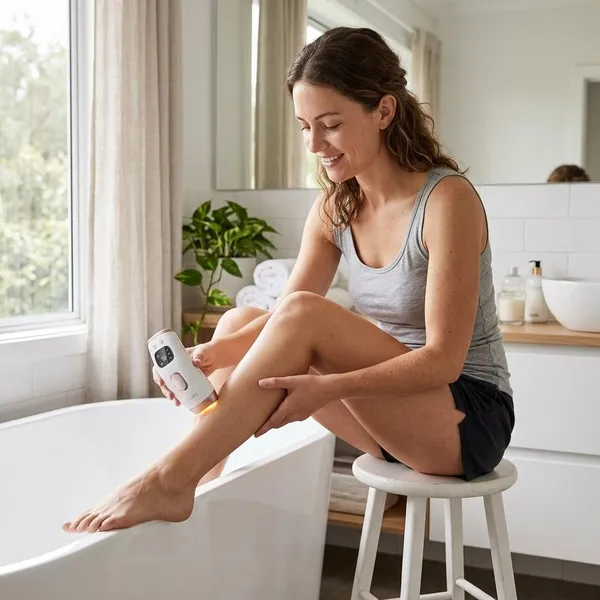
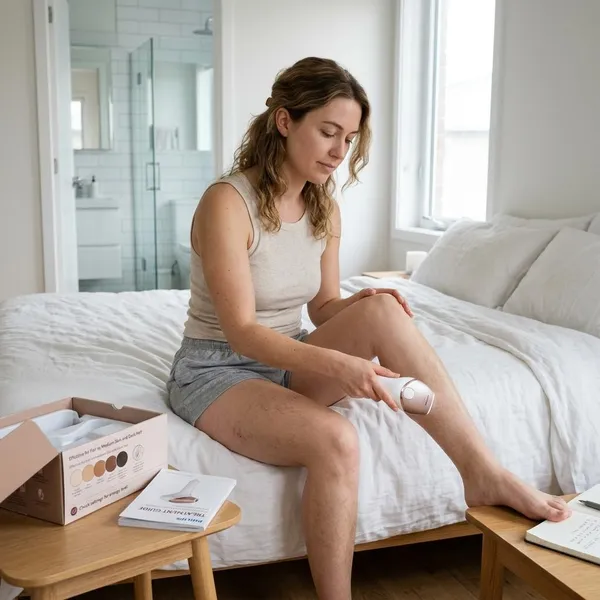
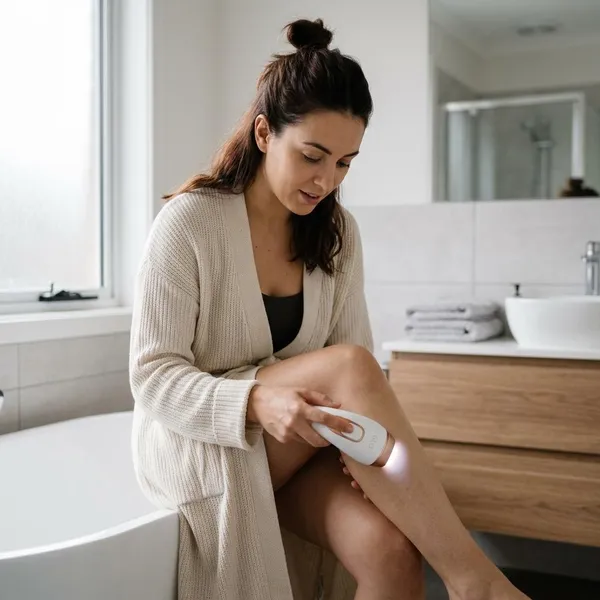
IPL hair removal before and after results usually look less like an instant "bare skin" reveal and more like a slow drop in regrowth. The most useful signs are hair coming back finer, patchier, and less quickly, so check your hair color, skin tone, and willingness to stay consistent before judging whether IPL is worth it for you.

What Does IPL Hair Removal Before and After Look Like?
A realistic "before" is usually not just visible hair. It is the routine around it: shaving often, dealing with stubble quickly, and sometimes managing bumps or irritation. A realistic "after" is usually reduced upkeep, not perfectly hair-free skin in every spot.
Before IPL: frequent shaving, faster regrowth, and irritation
Before IPL, many people are stuck in a short grooming cycle. Legs may feel smooth for a day or two, while underarms or the bikini line can show shadow and stubble much sooner, especially if the hair is dark and coarse.
- Fast regrowth: hair becomes noticeable soon after shaving.
- Visible shadow: dark follicles can show even when the skin feels smooth.
- Skin stress: repeated shaving may lead to bumps, dryness, or ingrown hairs.
- Planning around hair: workouts, holidays, and clothing choices can start to depend on when you last shaved.
If your main problem is constant shaving rather than heavy hair growth itself, even a partial reduction can feel like a big improvement.
After IPL: slower growth, finer hair, and fewer touch-ups
A good IPL result often shows up first in your routine. You may still see hair, but it grows back more slowly, feels softer, or appears in uneven patches instead of a full, dense layer.
For someone treating underarms before a summer trip, success might mean not needing to shave every morning. For someone using IPL long term on legs, it may mean occasional touch-ups instead of planning every week around shaving. Those are practical before-and-after changes, even if close-up photos still show a few hairs.
When Will You See IPL Before and After Results?
Most people need several sessions before the difference is obvious. IPL works best when repeated over time because not every hair is in the right growth phase during one session.
Weeks 1 to 2: early changes are often subtle
During the first couple of weeks, do not expect dramatic photos. You may still shave as usual, and the treated area can look almost unchanged because IPL is only beginning to affect some active follicles.
- What you may notice: slightly patchy regrowth or a little less prickly stubble.
- What not to assume: no visible change after two sessions does not mean failure.
- What to check: whether your skin stays calm after treatment and whether the setting feels tolerable.
Weeks 3 to 6: thinner and slower regrowth appears
This is when progress often becomes easier to spot. Hair may return in broken sections, feel less coarse, or take longer to become visible after shaving.
Uneven results are normal here. One underarm can respond faster than the other, and areas influenced by hormones may be more stubborn. If you are seeing slower regrowth but not smooth skin yet, that still counts as useful progress.
Weeks 7 to 12: smoother skin and reduced maintenance
By weeks seven to twelve, many users can judge whether IPL is making a meaningful difference. The clearest sign is usually not a flawless photo, but a lower-maintenance routine: fewer shaves, less visible shadow, and fewer rushed touch-ups.
If you stop too early, you may miss the stage where the result becomes most obvious. After the starting cycle, many people move into maintenance sessions every few weeks or months, depending on the device, body area, and regrowth pattern.

How to Get Better IPL Before and After Results
The biggest factors are not complicated: use IPL only if your hair and skin are suitable, shave before sessions, follow the schedule, avoid tanning around treatment, and choose settings you can use consistently. Skipping those basics can make the result weaker or the treatment more irritating.
Shave before treatments instead of waxing or plucking
Shaving is the right prep for most IPL routines because it leaves the hair root under the skin. Waxing, plucking, threading, and epilating remove the root, which gives the light less pigment to target.
- Pause root-removal methods before starting IPL.
- Shave closely before treatment, following your device timing guidance.
- Use clean, dry skin without oils, perfume, self-tanner, or heavy lotion.
Follow the recommended treatment schedule
Consistency matters more than intensity. Most at-home IPL devices are built around a starting phase, often weekly or every other week depending on the brand, followed by maintenance once regrowth has clearly slowed.
Doing extra sessions usually will not force faster results and may make skin more sensitive. A better approach is to mark the treatment dates and take comparison photos every two to four weeks under the same lighting.
Protect skin from sun exposure
Freshly tanned skin is a reason to be cautious. More pigment in the skin can increase the chance of irritation, and many IPL devices warn against use on recently tanned skin or after self-tanner.
If you are planning IPL before a beach holiday, start well ahead of time rather than rushing sessions while tanning. For exposed areas like arms, face, or lower legs, use sun protection and pause treatment if the skin is sunburned, irritated, or darker than your device allows.
Use correct settings for different areas
The best setting is the one that matches your skin tone, hair color, body area, and comfort level. Legs may tolerate a higher setting than the bikini line or underarms, while facial areas often need more caution and precision.
- Check the skin tone chart first: do not guess if your skin tone is near the device limit.
- Patch test a small area: wait as instructed before treating a wider section.
- Lower the intensity for sensitive zones: comfort helps you stay consistent.
- Avoid excluded areas: follow the device manual for tattoos, moles, broken skin, and intimate areas.
How to Judge IPL Before and After Photos Realistically
Before-and-after photos can be helpful, but they are easy to misread. A shaved "after" photo next to a grown-out "before" photo can make IPL look more dramatic than it is, even without editing.
Compare lighting, angles, and photo conditions
A fair comparison uses the same body area, similar lighting, similar distance, and the same amount of time since shaving. Bathroom lighting, phone flash, and bright daylight can all change how dark dots, fine hairs, and skin texture appear.
| Photo detail to check | Why it matters |
|---|---|
| Same regrowth timing | A freshly shaved "after" is not a fair match for a grown-out "before." |
| Same lighting | Side lighting can exaggerate texture; bright front light can hide fine hair. |
| Same angle and distance | Zoom and angle changes can make hair look denser or lighter. |
Look for finer hair and slower regrowth
Strong progress can look subtle in a photo. Fewer dark dots, softer-looking strands, and more empty space between hairs are often better signs than a completely smooth image taken right after shaving.
Focus on reduced upkeep rather than perfect hair-free skin
Perfectly hair-free skin is not the most realistic benchmark for IPL. Reduced upkeep is. If you used to shave every other day and now only need occasional cleanup, that is a real result.
Conclusion
IPL is worth judging by weeks of progress, not one dramatic photo. If your hair is suitable, your skin is not recently tanned or irritated, and you can follow the schedule, the best result is usually less frequent shaving, finer regrowth, and calmer-looking skin rather than permanent removal of every hair.